
On Demand Training Videos
Membership Menu
Get exclusive access to CEREC™ training videos by Dr. James Klim.
View the membership levels below and choose the option that will enhance your learning journey!
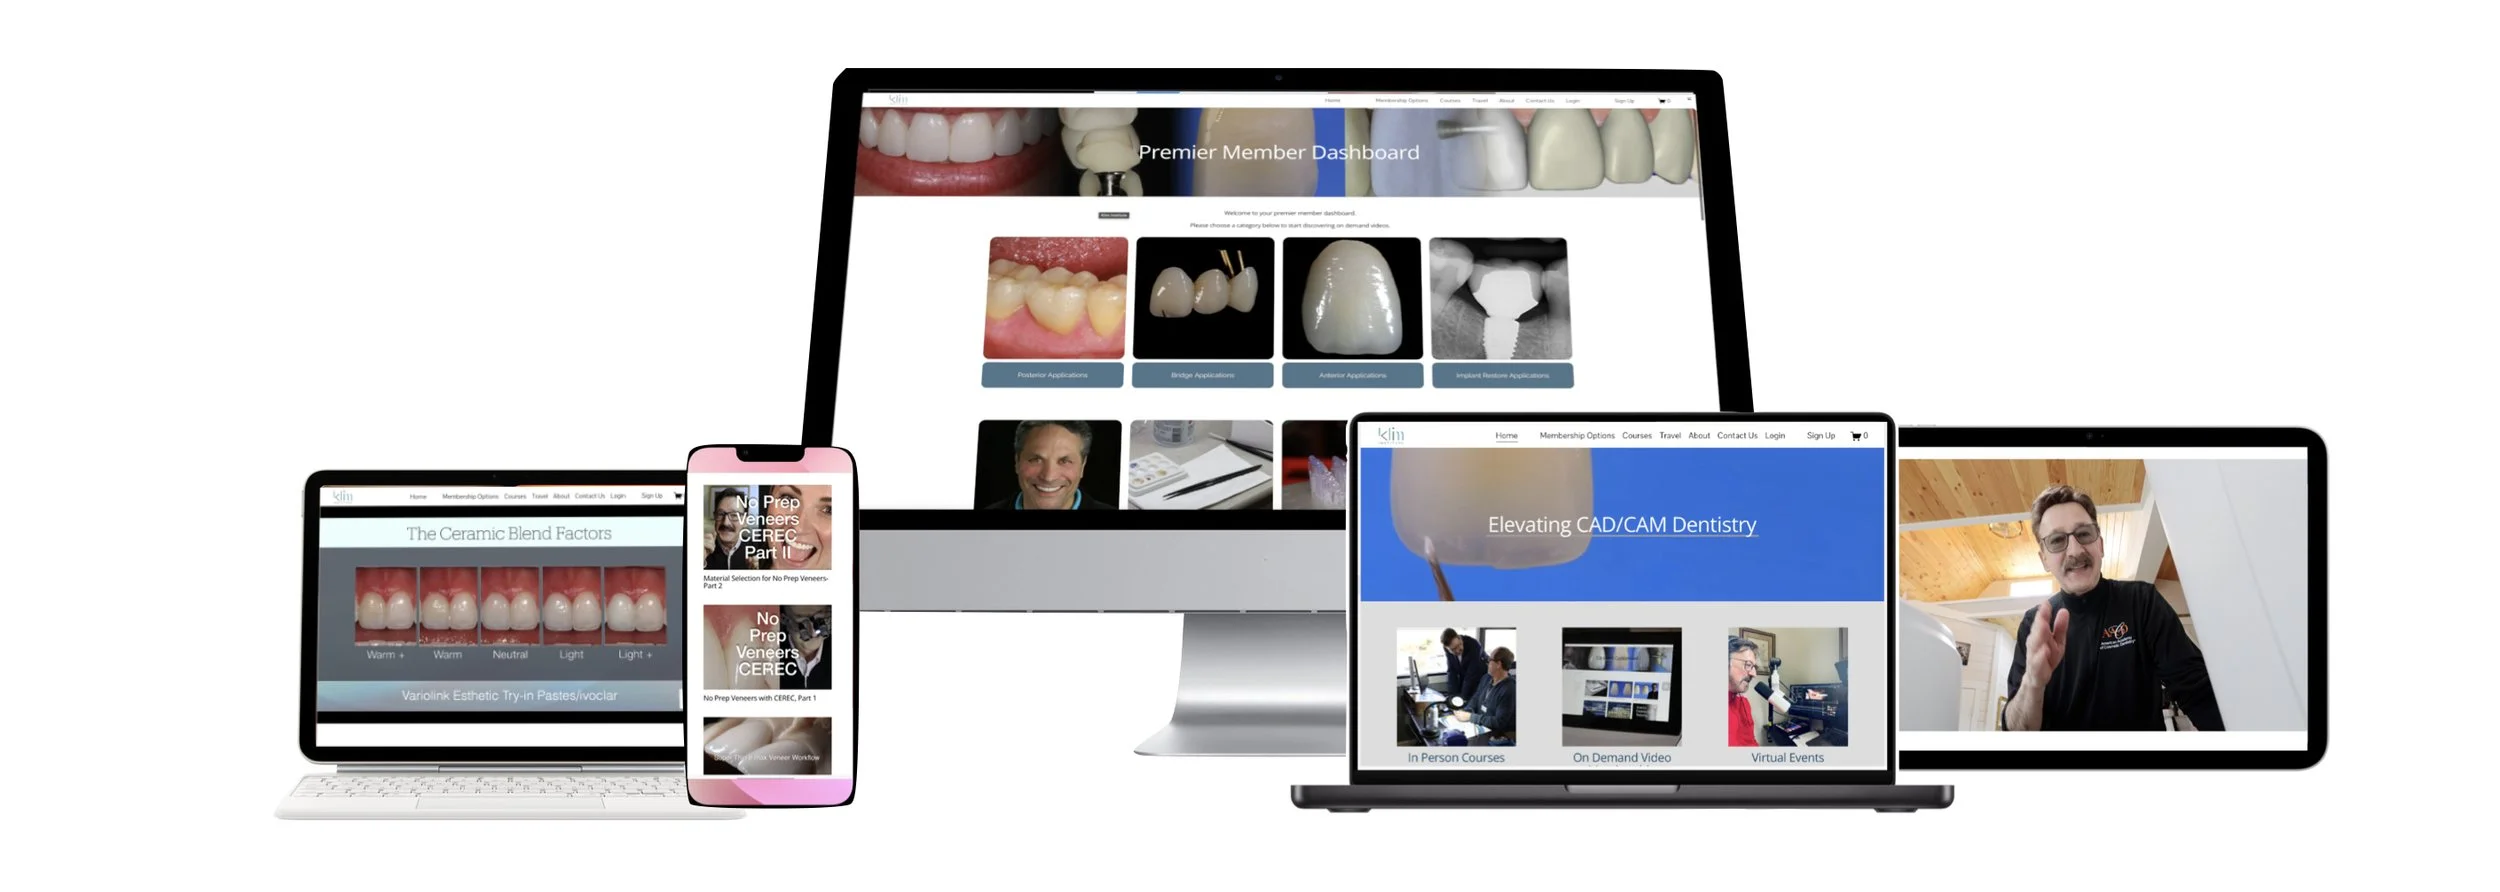
Club Membership
Become a Club Member and enjoy access to the following content and benefits
$795 per year
Posterior Training
Zirconia Training
Bridge Training
Online CE
Live Quarterly Live Webinars
10% discount on Hands On Courseses
Best Value
Premium Membership
As a Premium Member you will get everything in the club level, PLUS access to the following content and benefits
$1395 per year
All Club level content including posterior, bridge and zirconia training
Anterior Training
Implant Restorative Training
Comprehensive Training
Team Member Accounts (give up to 5 members of your team their own access)
Online CE
Live Quarterly Webinars
15% discount on Hands On Courses
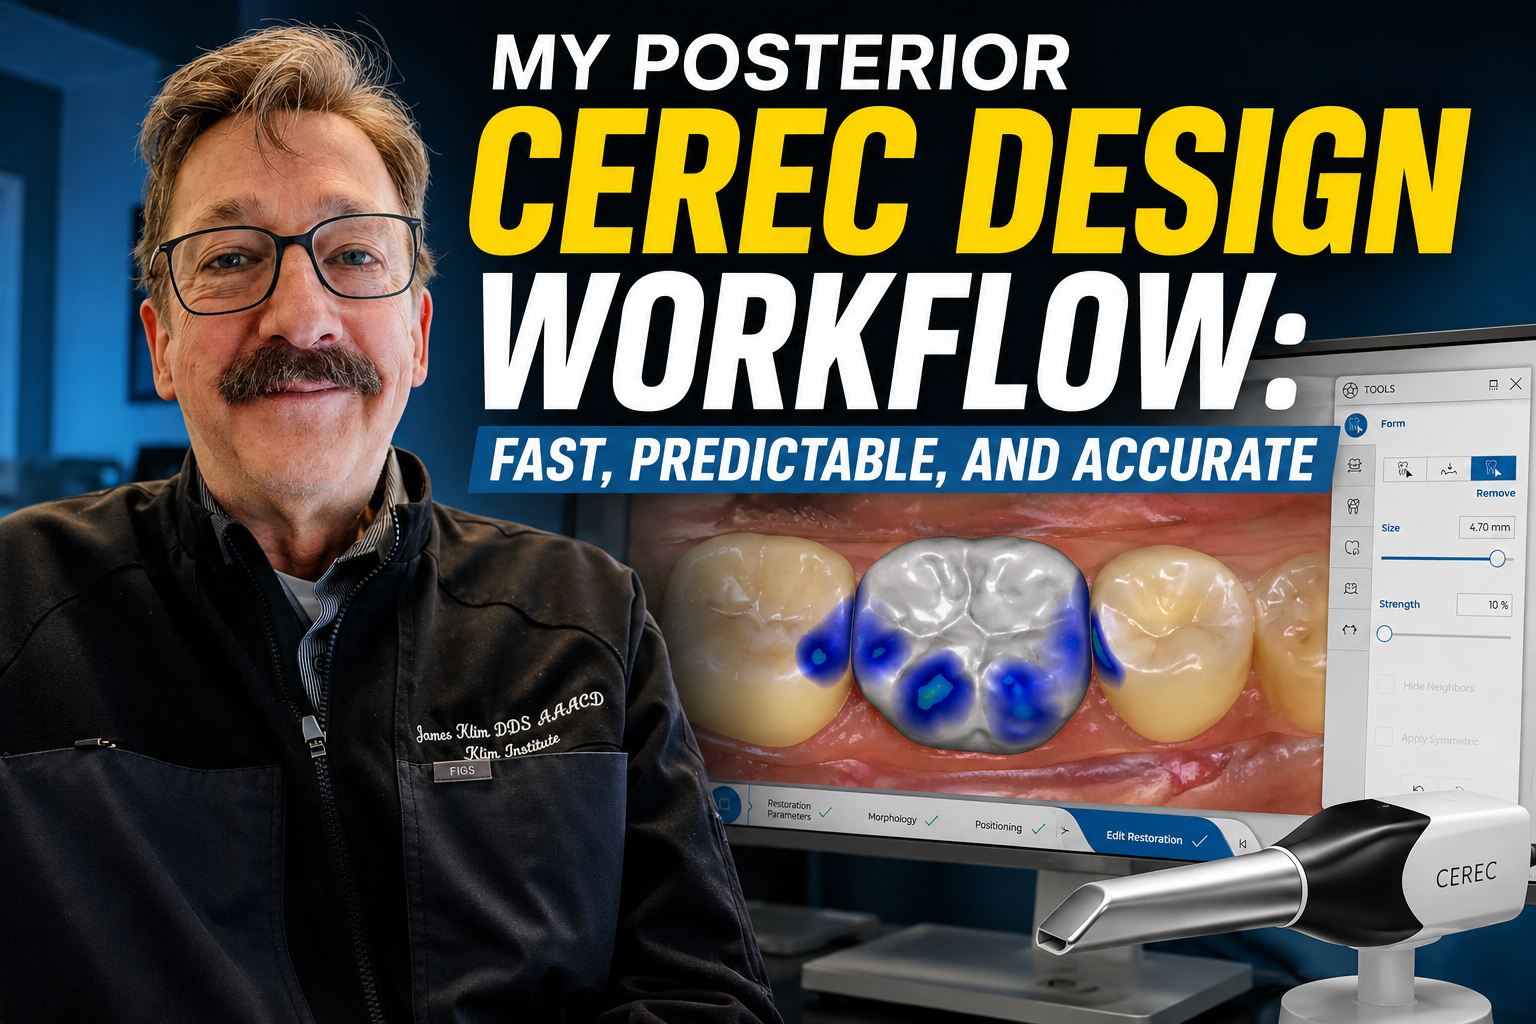
In this video, I'll walk you through my everyday CEREC Posterior design sequence—from start to finish. I'll show you exactly what I look for, the small nuances that make a big difference.
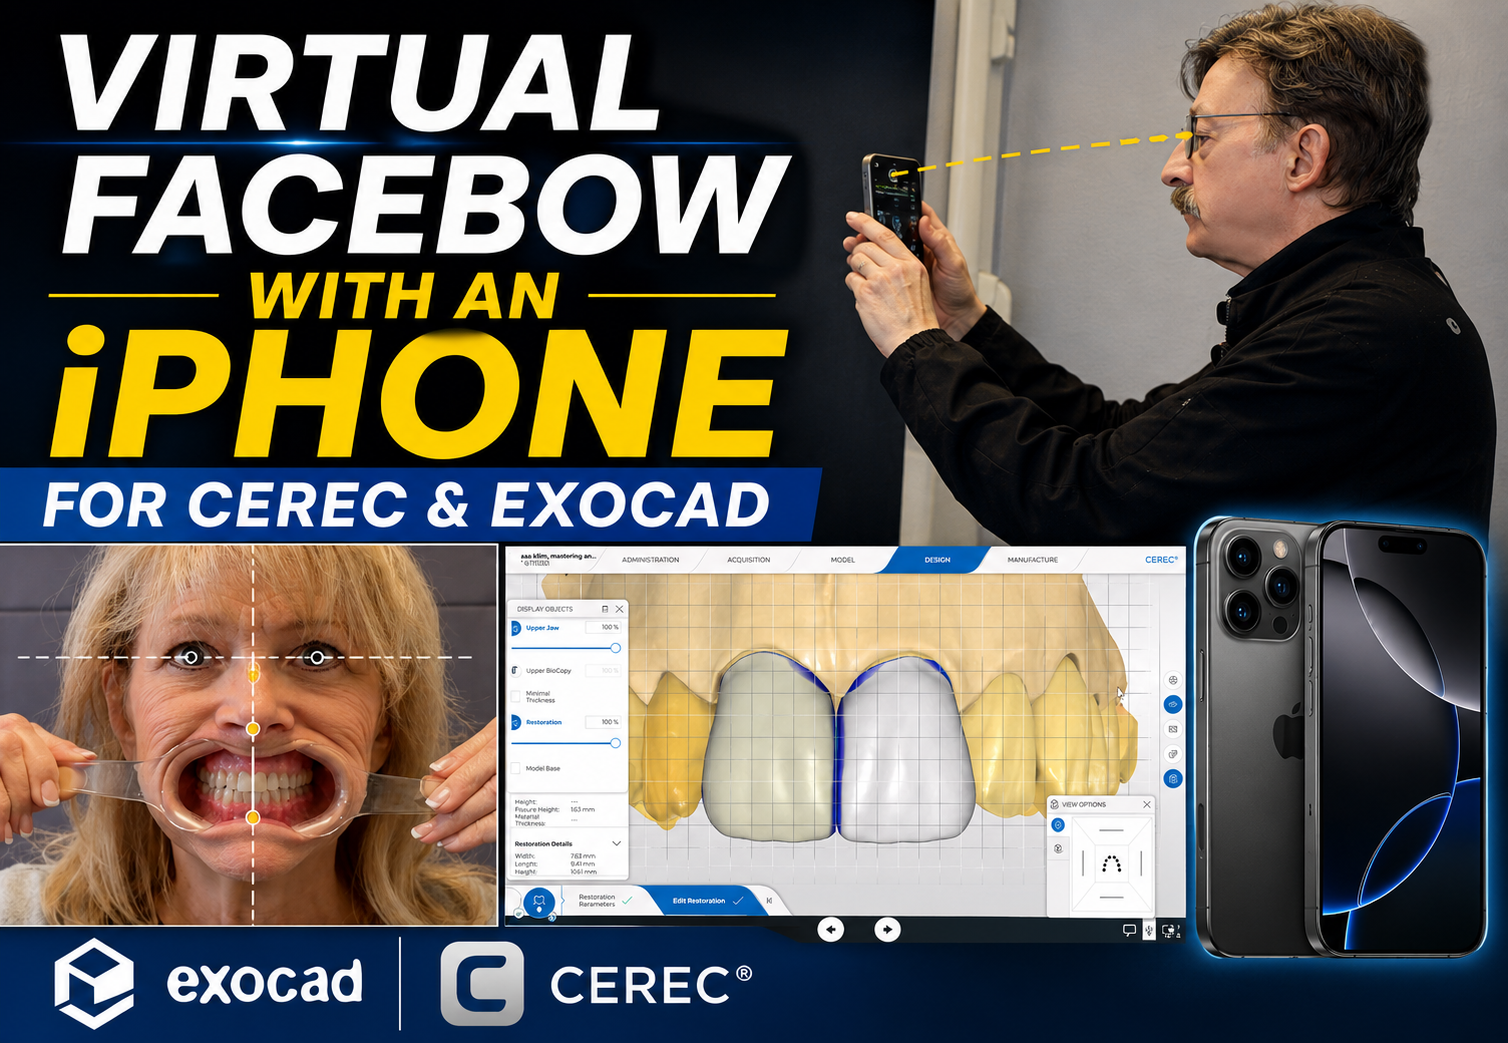
In this video, I'll show you how I use an iPhone to capture a facial alignment photograph that serves as a virtual facebow for orienting the model axis and establishing the correct smile plane.
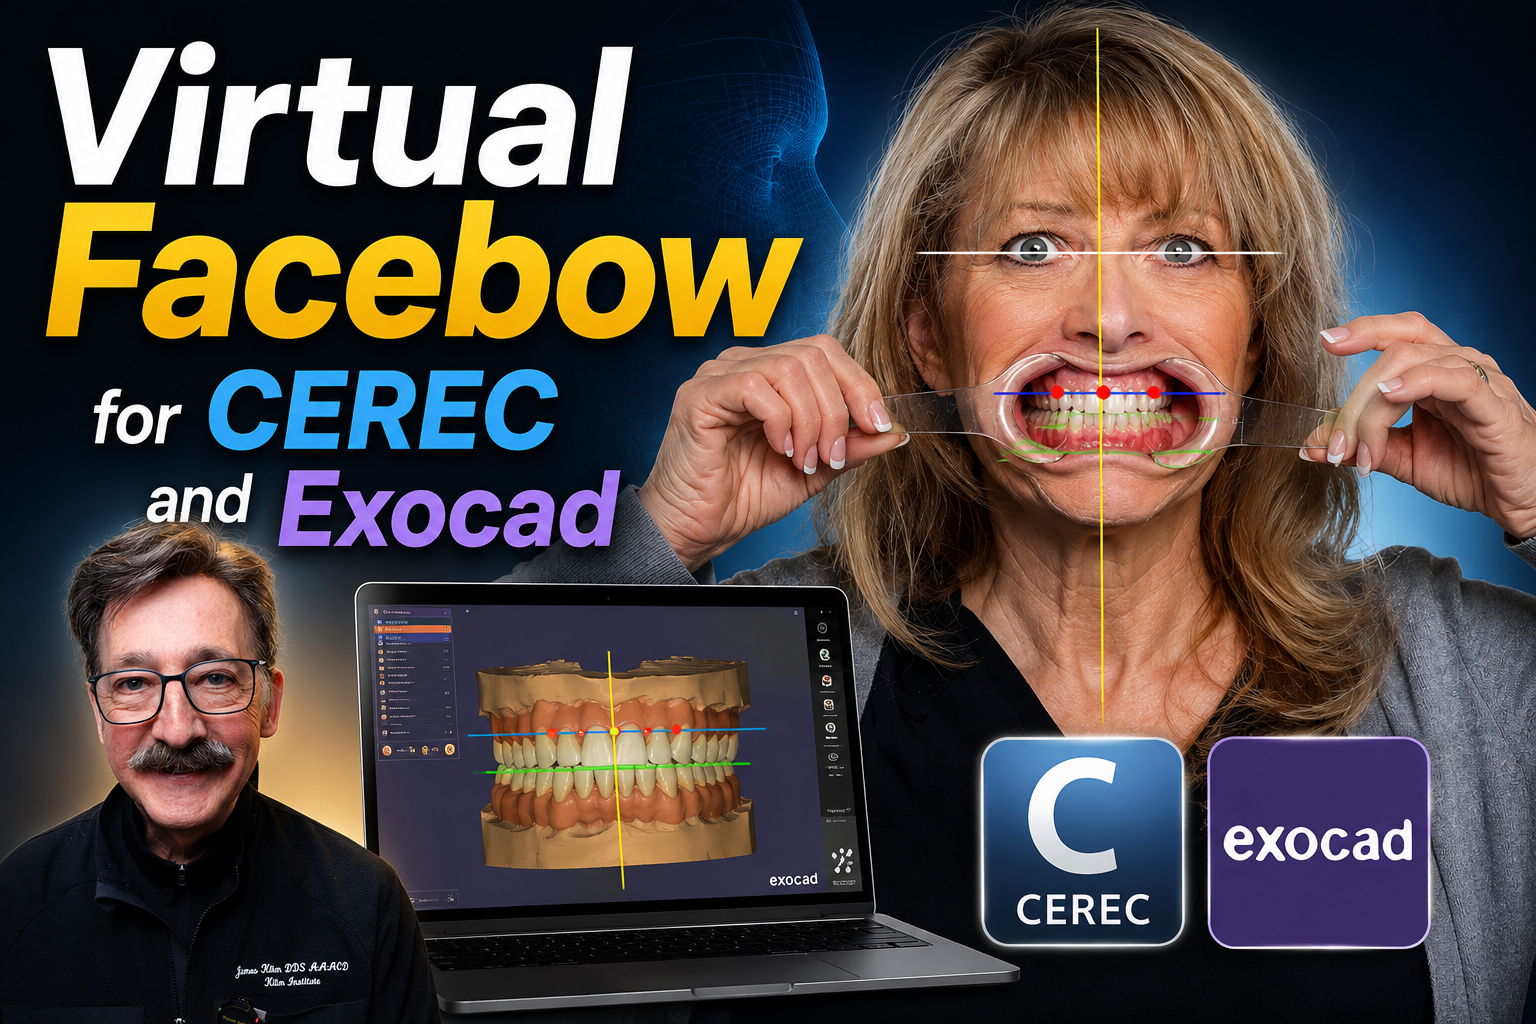
By positioning the patient correctly for a facial photograph, similar to setup posturing for a CBCT, we can establish accurate reference planes without the need for a traditional facebow.
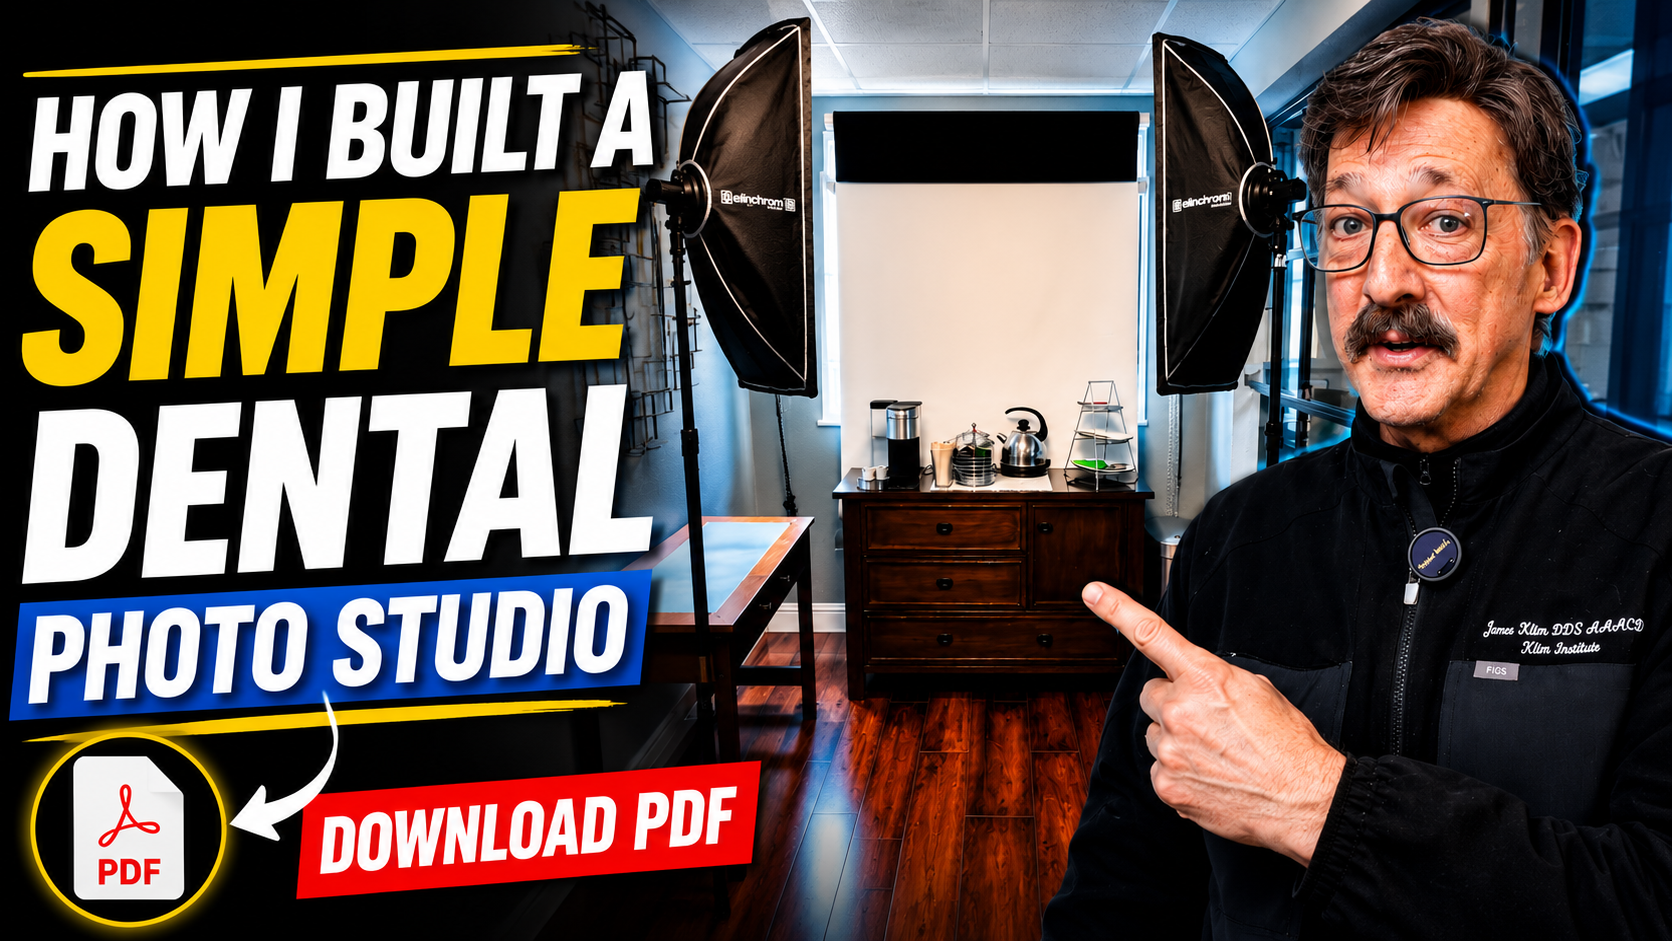
In this video, I'll walk you through my simple studio setup and show you how easy it is to create professional-quality photographs.
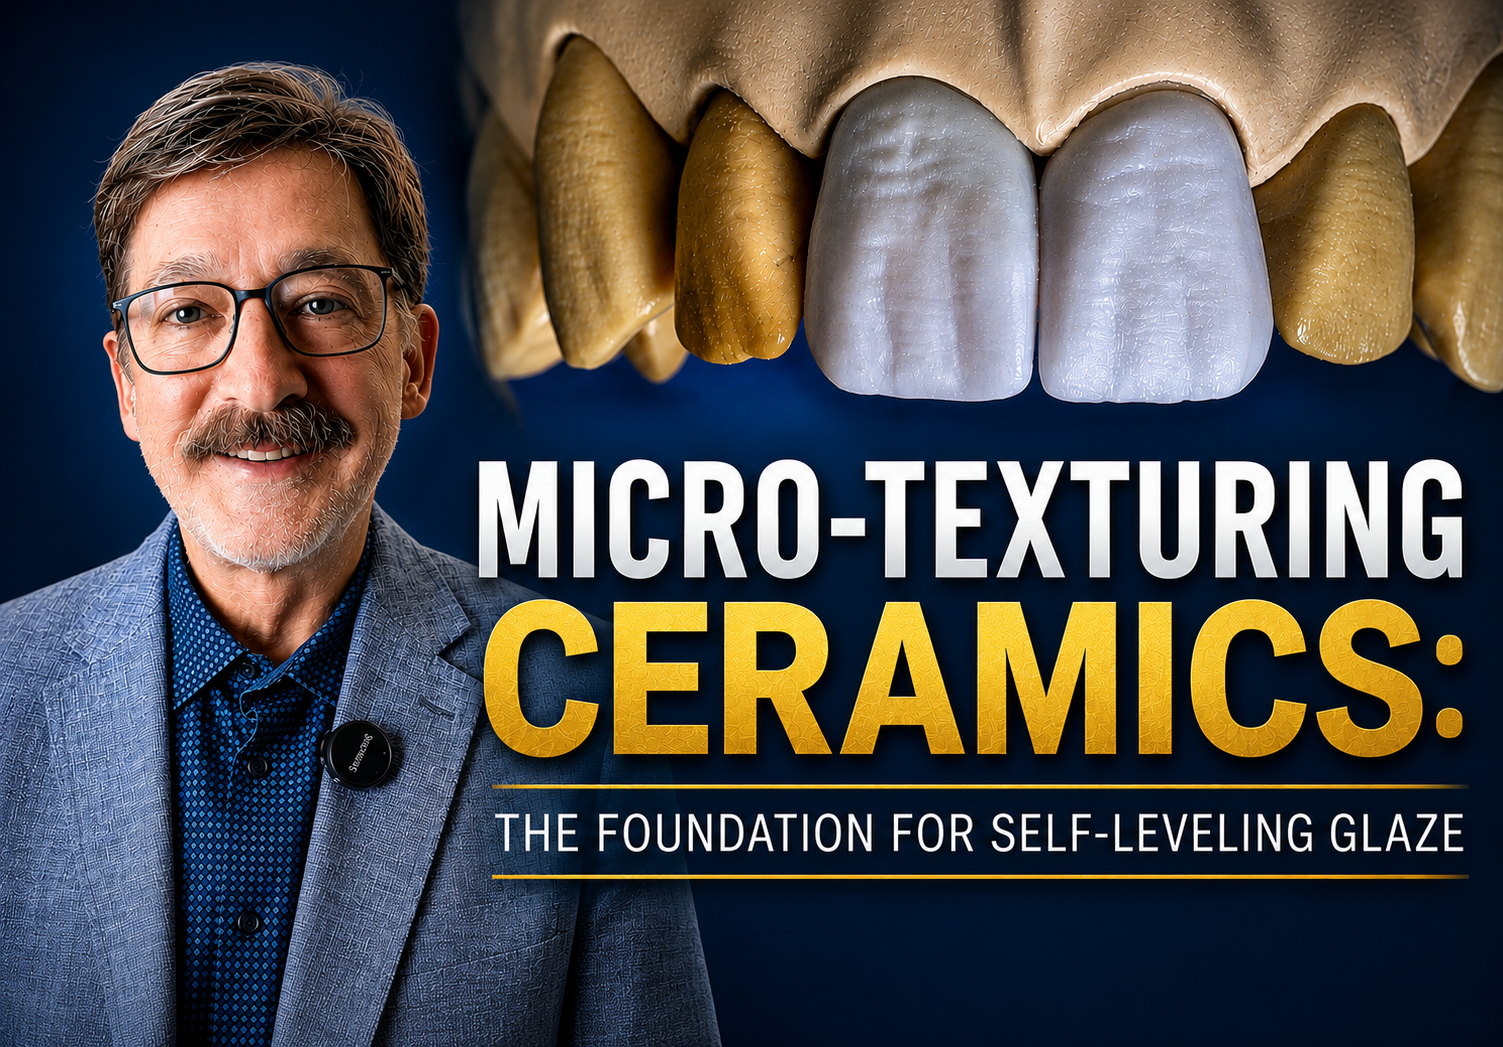
In this video, I demonstrate my approach to micro-texturing e.max restorations before applying the new generation of self-leveling glazes.
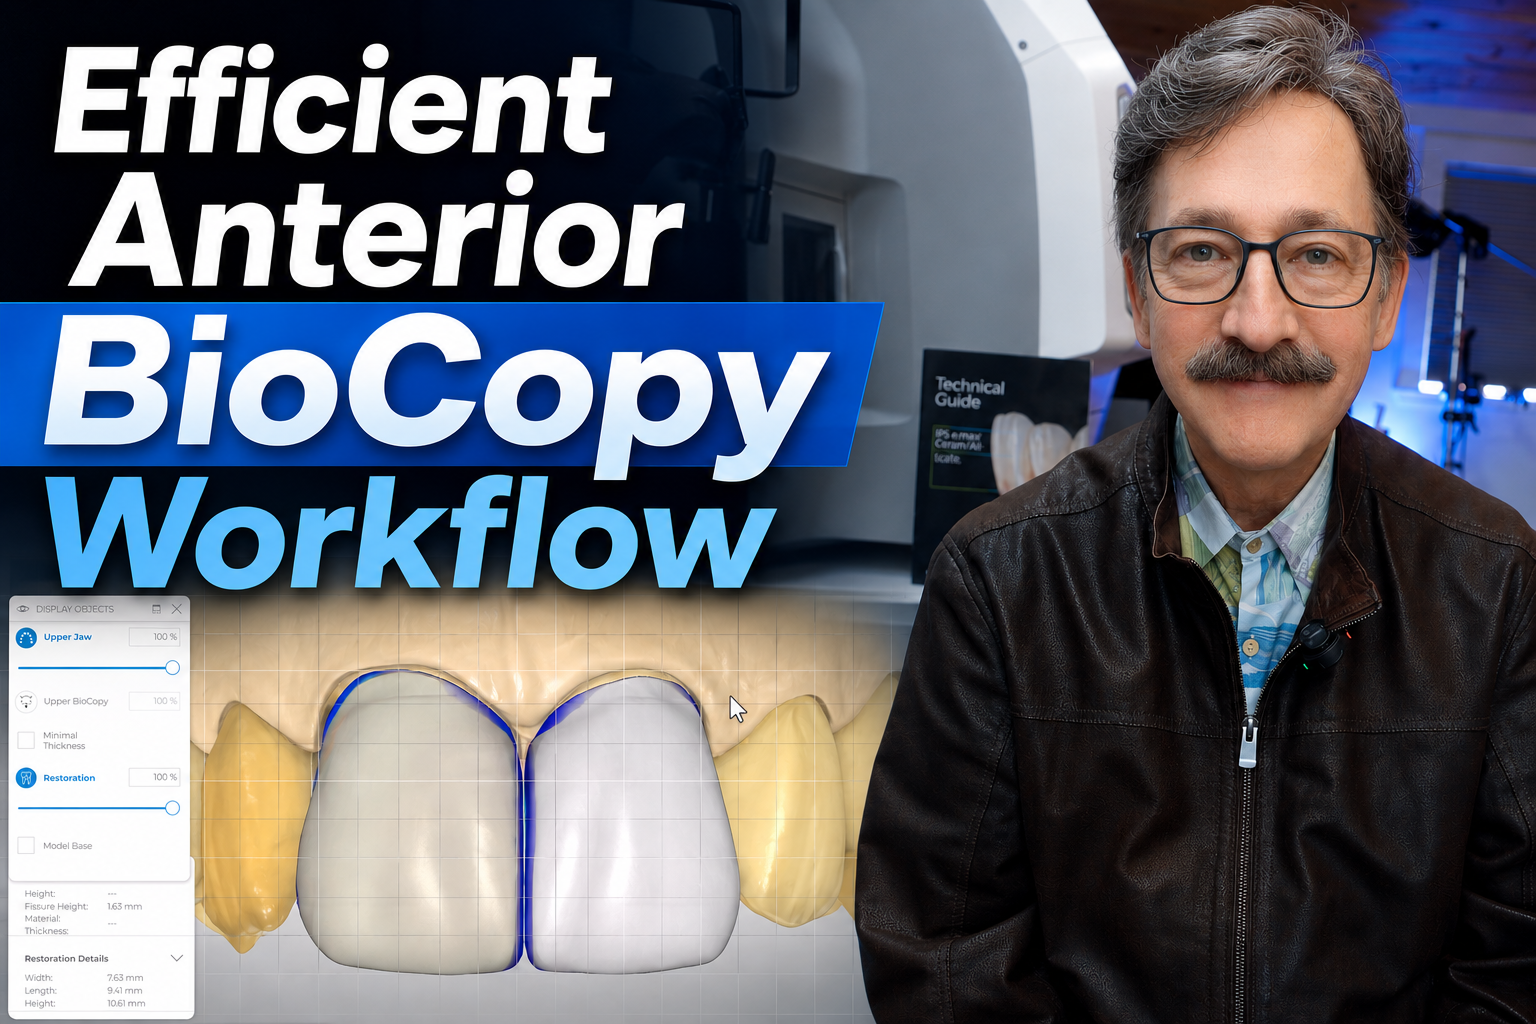
This video presentation will demonstrate my CEREC workflow for anterior BioCopy restorations. We will be designing two central incisors using the BioCopy technique, and I will review the critical aspects that make BioCopy successful.
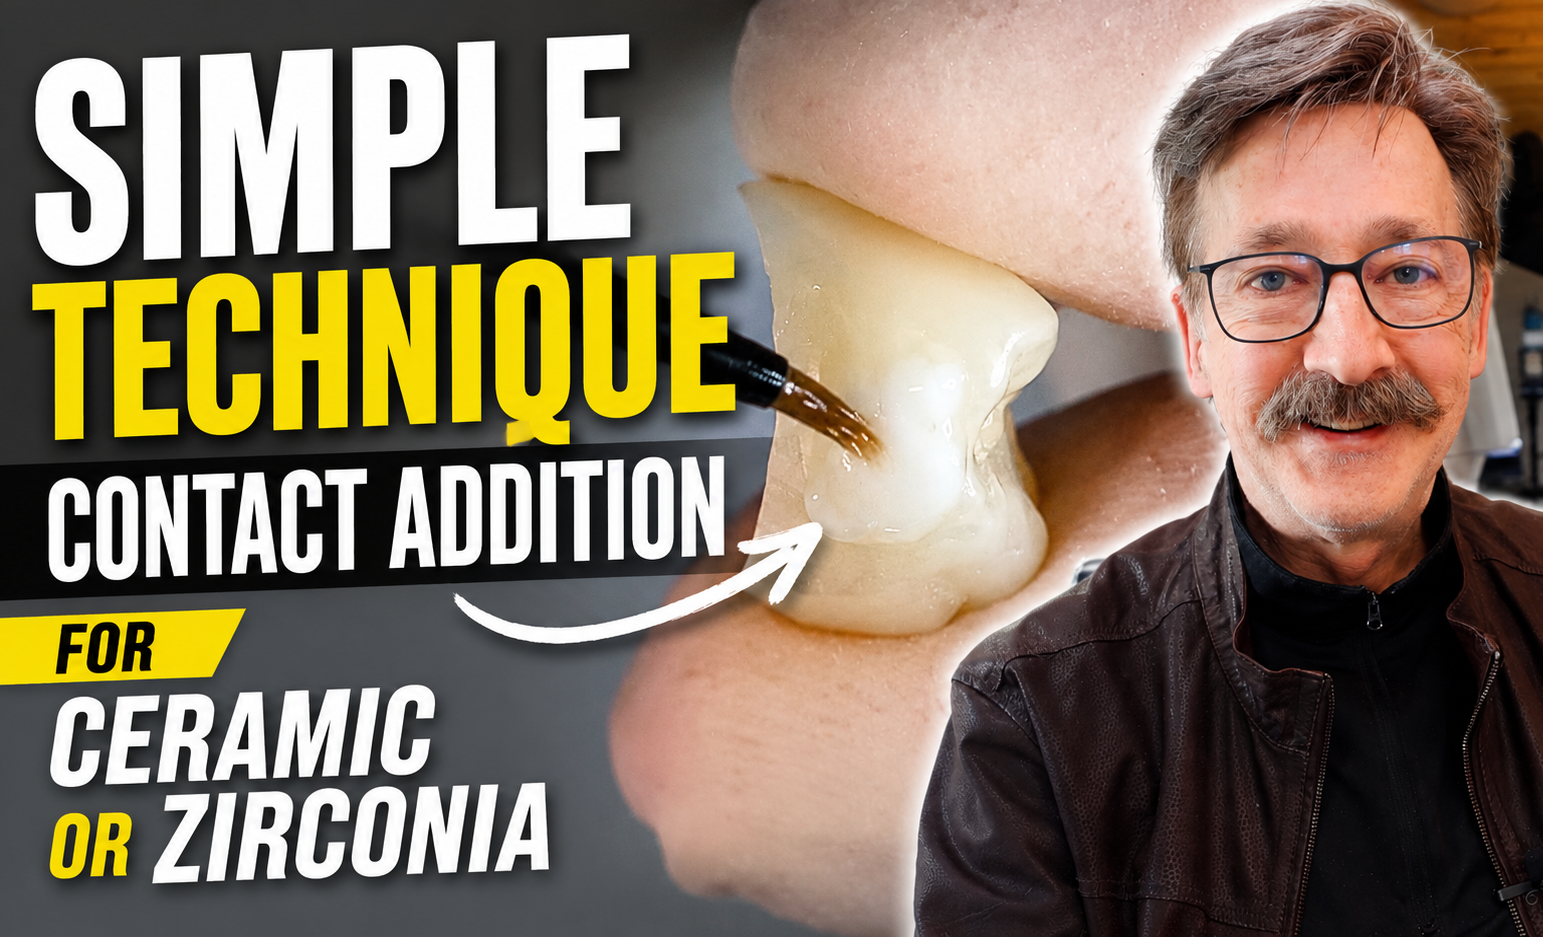
Having a predictable technique for correcting an open contact chairside has become one of the most valuable skill sets in ceramic and zirconia chariside dentistry. Learn this simple technique.
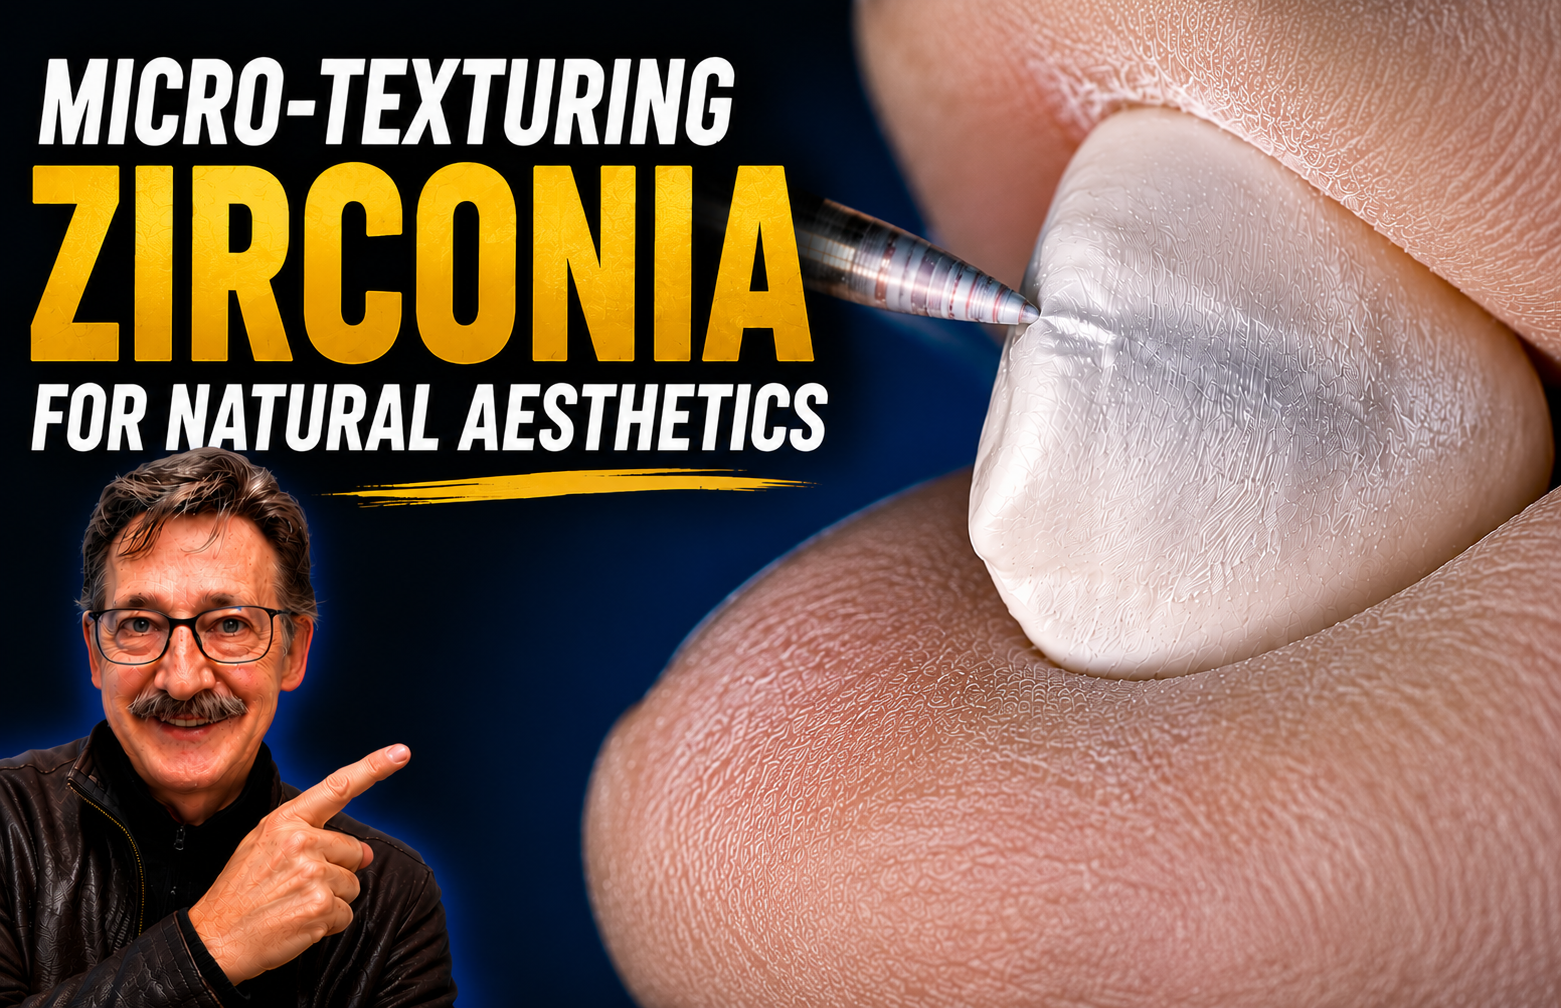
In this video, I walk through the steps of micro-texturing a zirconia canine restoration to blend naturally with the adjacent ceramic lateral incisor. The goal is to create harmony between two different restorative materials while maintaining a consistent appearance across the smile.

In this tutorial, we demonstrate a basic anterior workflow for characterizing a zirconia canine crown fabricated from ZirCAD Prime Aesthetic zirconia and blending it naturally next to an adjacent e.max lateral restoration.
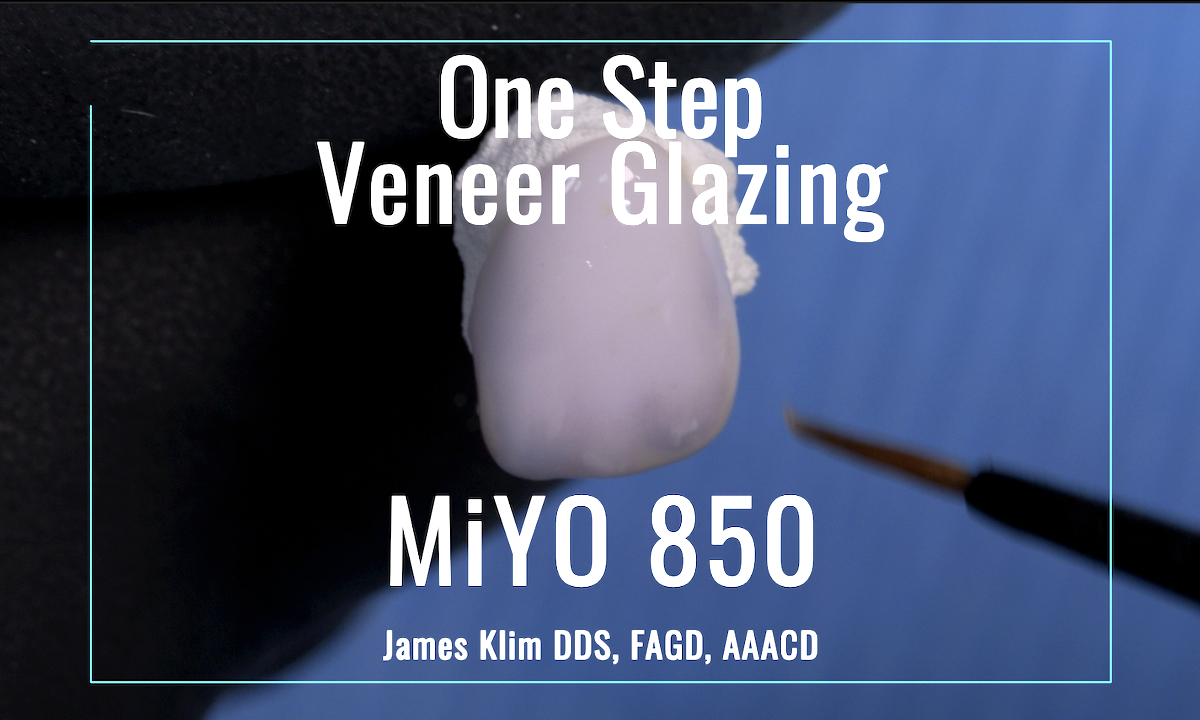
This video highlights the effectiveness of MIYO 850, as a one-step exercise for cyrstalization and MiYO stain/glaze for one firing.
CEREC parameters are designed to help the software run smoothly and to optimize both the proposal and the milling process.
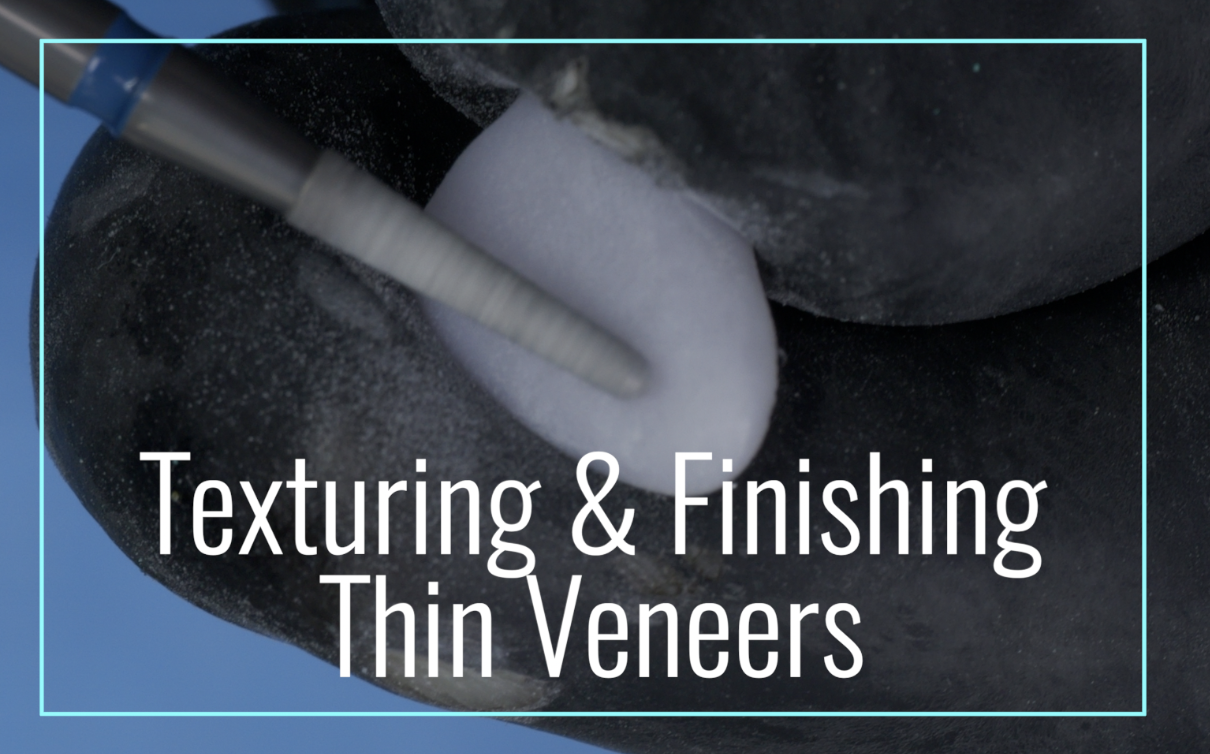
The goal is simple: let the mill do most of the work. Once the restoration is milled, I perform only micro-refinement, avoiding heavy adjustments that could compromise structural integrity. This approach preserves accuracy and reduces the risk of overworking delicate ceramic.

This tutorial will guide viewers through the software workflow for designing two posterior side-by-side two-piece implant restorations. TriAbutment, Cercon 4D, and e.max are the materials used.

Here in this tutorial video, I’ll demonstrate the BioJaw approach for aesthetic multiple restorations within the CEREC software.

With over four decades of experience, I’ve discovered an easy-to-apply finishing varnish for acrylics called Palaseal. It works exceptionally well to achieve a "glaze-like" finish on printed provisionals and can be easily cured during the printing curing phase. This video demonstrates my technique for applying Palaseal to printed provisionals.

In this video, I will demonstrate my method for creating micro-retentive grooves on implant abutments prior to sintering, increasing cementation retention for the restorative crowns.


The Exocad Deprogrammer software workflow is straightforward, and I will guide you through each step in this video.
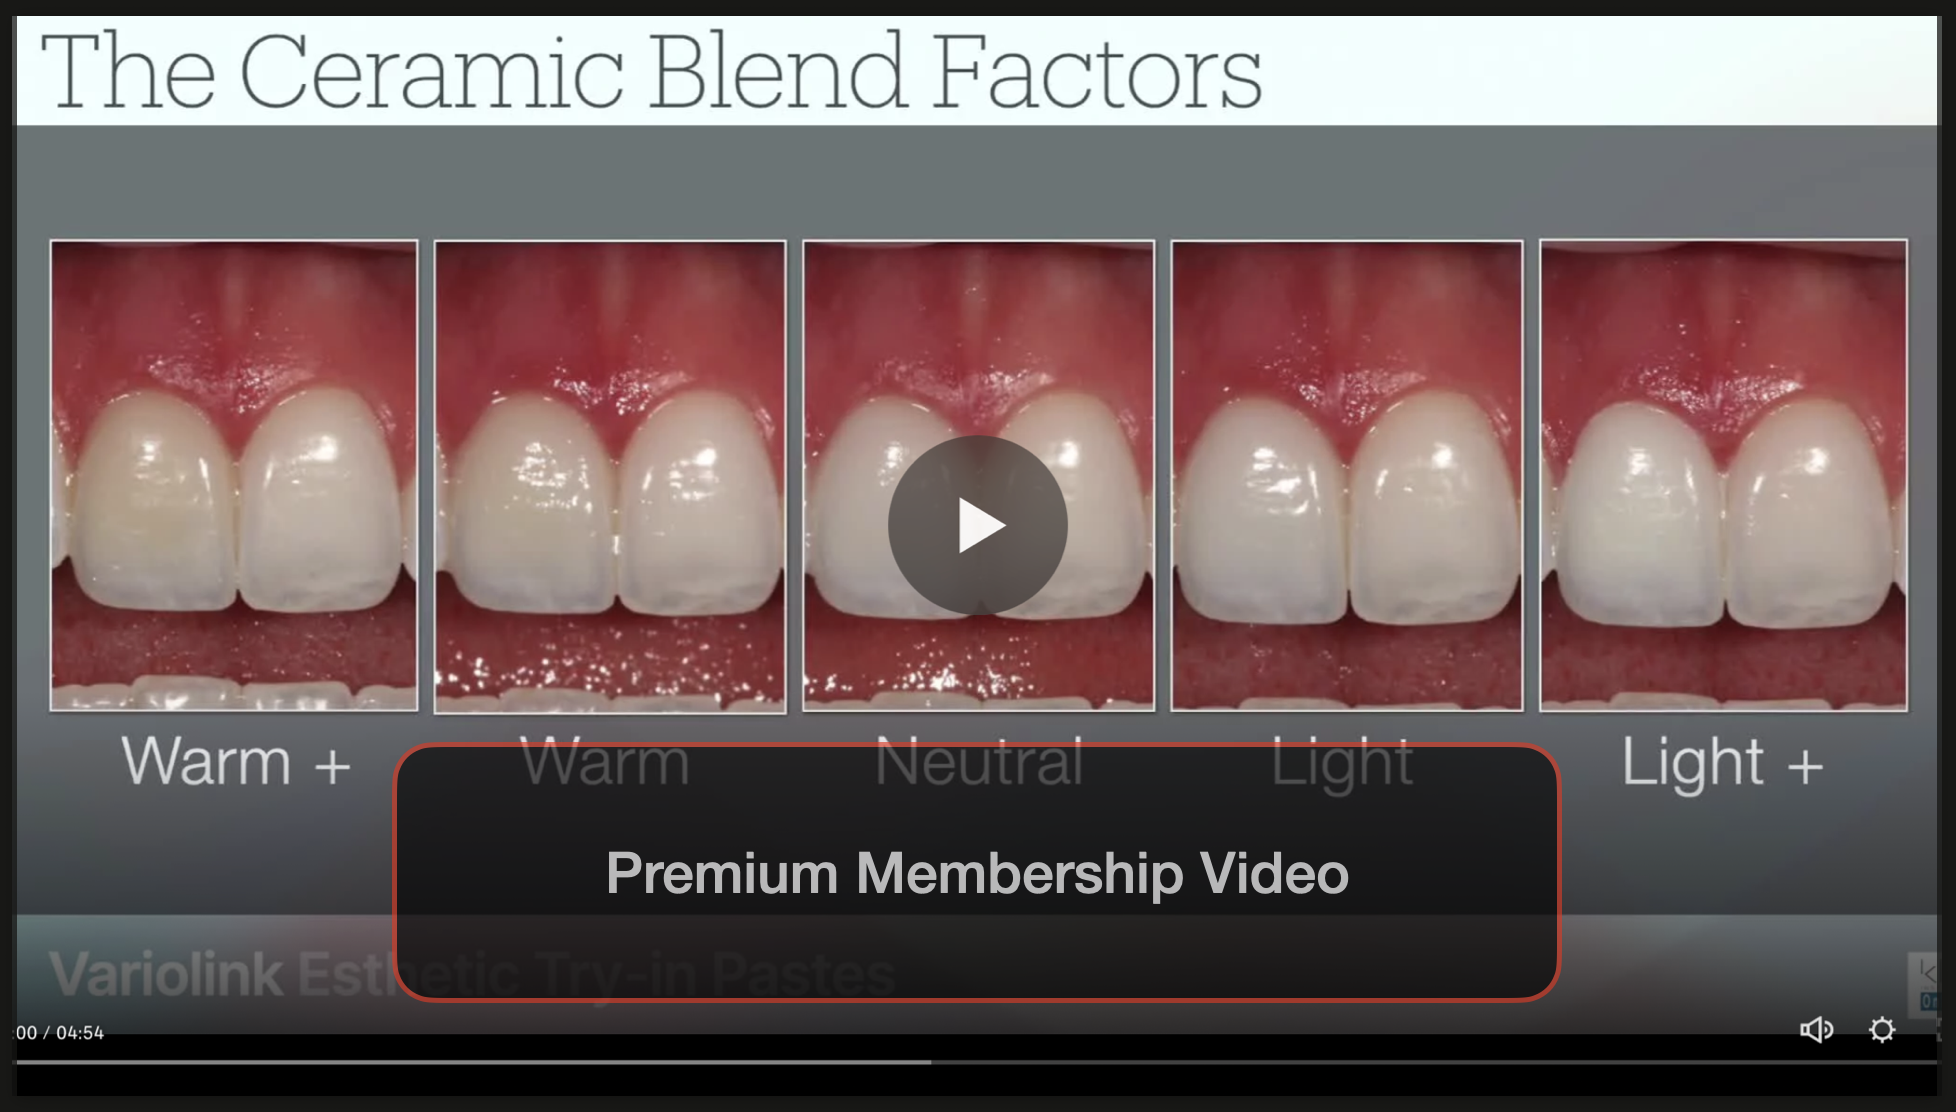
By using try-in paste, clinicians can achieve optimal aesthetic and functional results, ensuring the final restorations seamlessly blend with the surrounding dentition and provide long-term success and patient satisfaction.
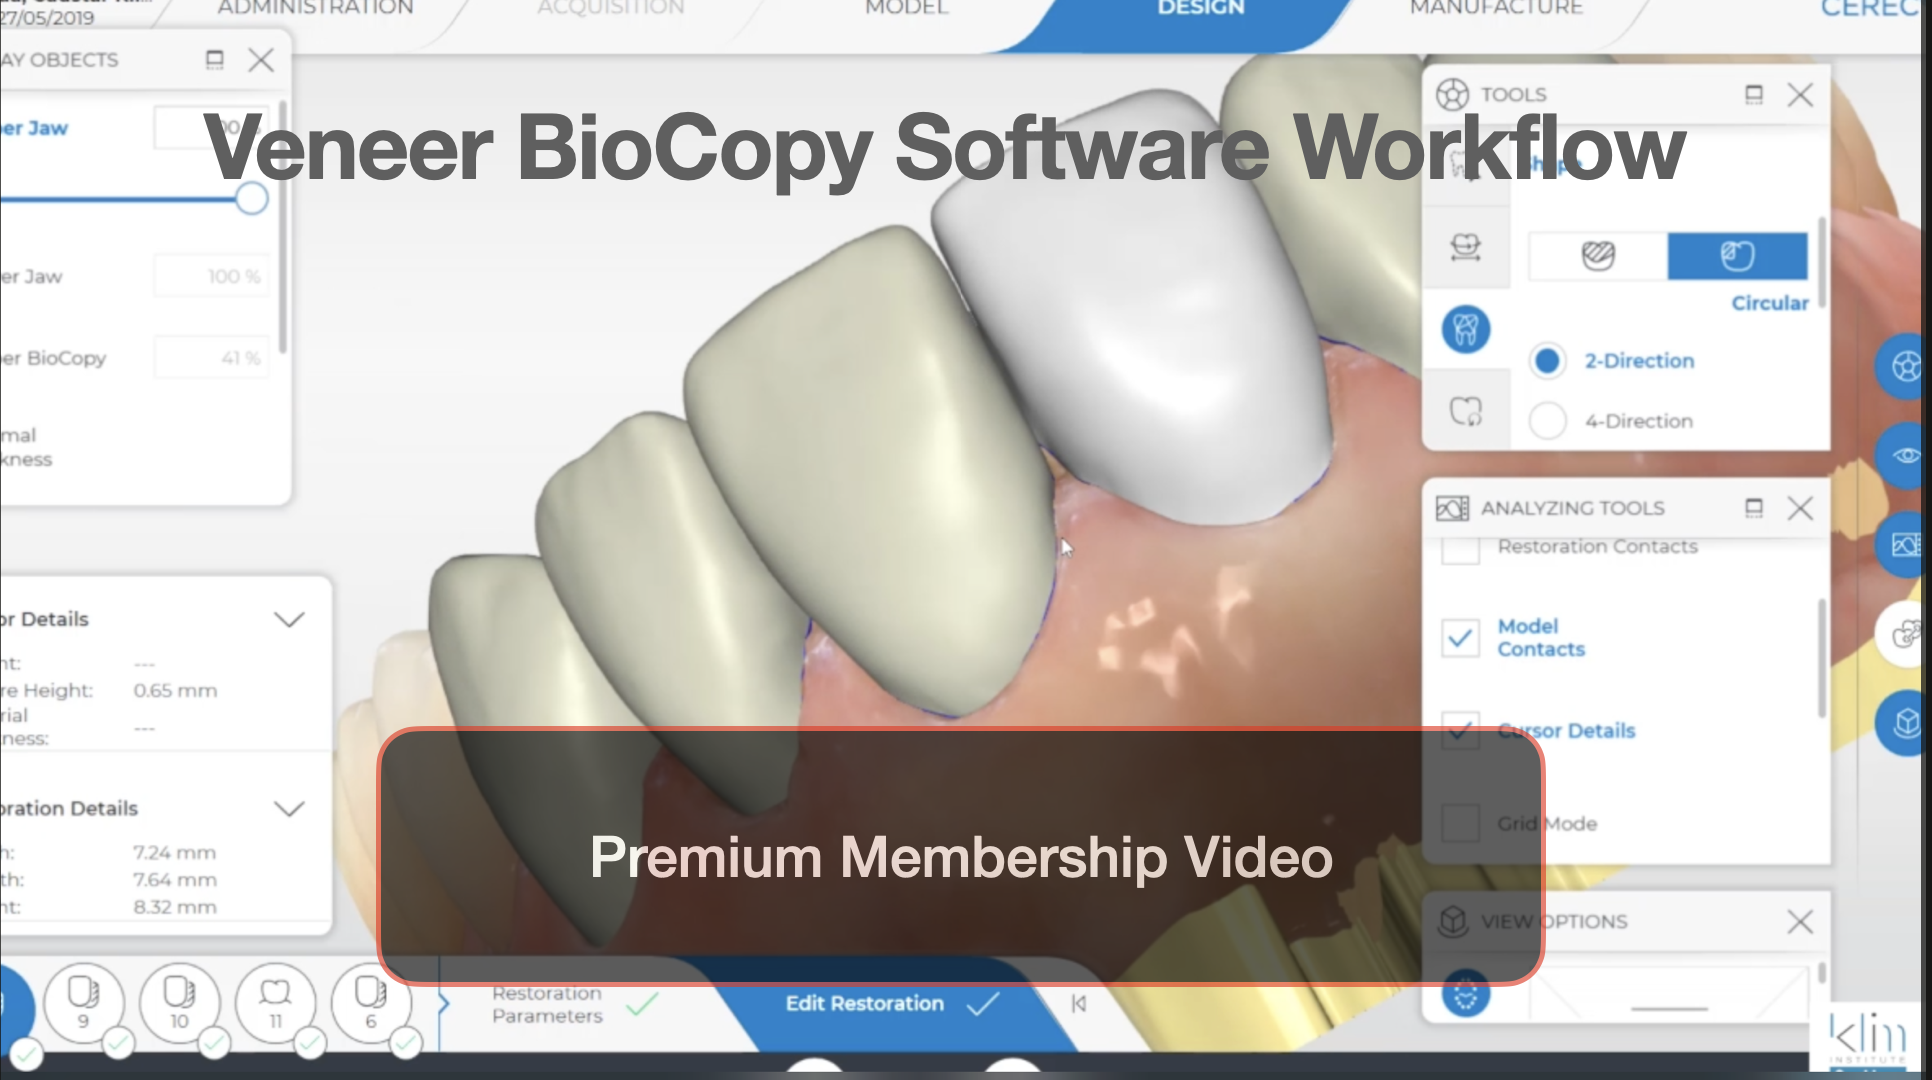
Watch this video to learn about my Biocopy design workflow for multiple anterior veneers and how it enhances aesthetic results.

This video will guide you through the workflow for placing and bonding ten e.max BL4 MT maxillary veneers. Proper case setup with rubber dam isolation and healthy soft tissue management are key to achieving a seamless, stress-free placement.

This was a fun and engaging veneer preparation to document! With a little bit of careful planning, we managed to preserve the enamel on the preparation surface, even though some reduction was needed. Saving enamel is really key for long-lasting veneers and helps create a strong, reliable bond between the veneer and the tooth.

This video demonstrates my workflow using Primescan with DS Core, which efficiently transfers DXD files and converts digital impressions into PLY or Exocad formats, opening up numerous software and design options.

This video demonstrates one straightforward workflow, but it's really only the beginning. As you become familiar with the material, you'll discover countless combinations of shades and effects.