Minimal Prep, Maximum Impact: Prepless Veneer Protocols with CEREC™

In modern digital dentistry, patients increasingly seek treatments that prioritize both esthetics and preservation of natural tooth structure. One of the most elegant answers to that demand? Prepless veneers—a treatment that’s not only minimally invasive but also fully supported by today’s advanced CAD/CAM tools.
In a recent clinical case, Dr. James Klim walks us through a conservative veneer workflow, leveraging the capabilities of CEREC, PrimeMill, and high-translucency materials to deliver stunning results—without prepping away healthy enamel.
Is the Patient a Candidate for Prepless Veneers?
Not every case qualifies for this approach. According to Dr. Klim, the best candidates have:
Well-preserved papilla and minimal gingival recession
Healthy enamel structure, even in worn areas
Minimal discoloration or only minor shade adjustment needs
Favorable tooth alignment, allowing for thin ceramic layering
In this case, the patient—a retired dental professional—had lingual incisal wear, but retained excellent enamel. Instead of prepping the incisal edge, Dr. Klim chose to maintain it and restore wear areas with composite, showcasing the power of blending esthetic goals with conservative principles.
The Power of the Mock-up
Before any preparation (if needed), Dr. Klim creates a diagnostic mock-up on a printed model using composite. This allows control over:
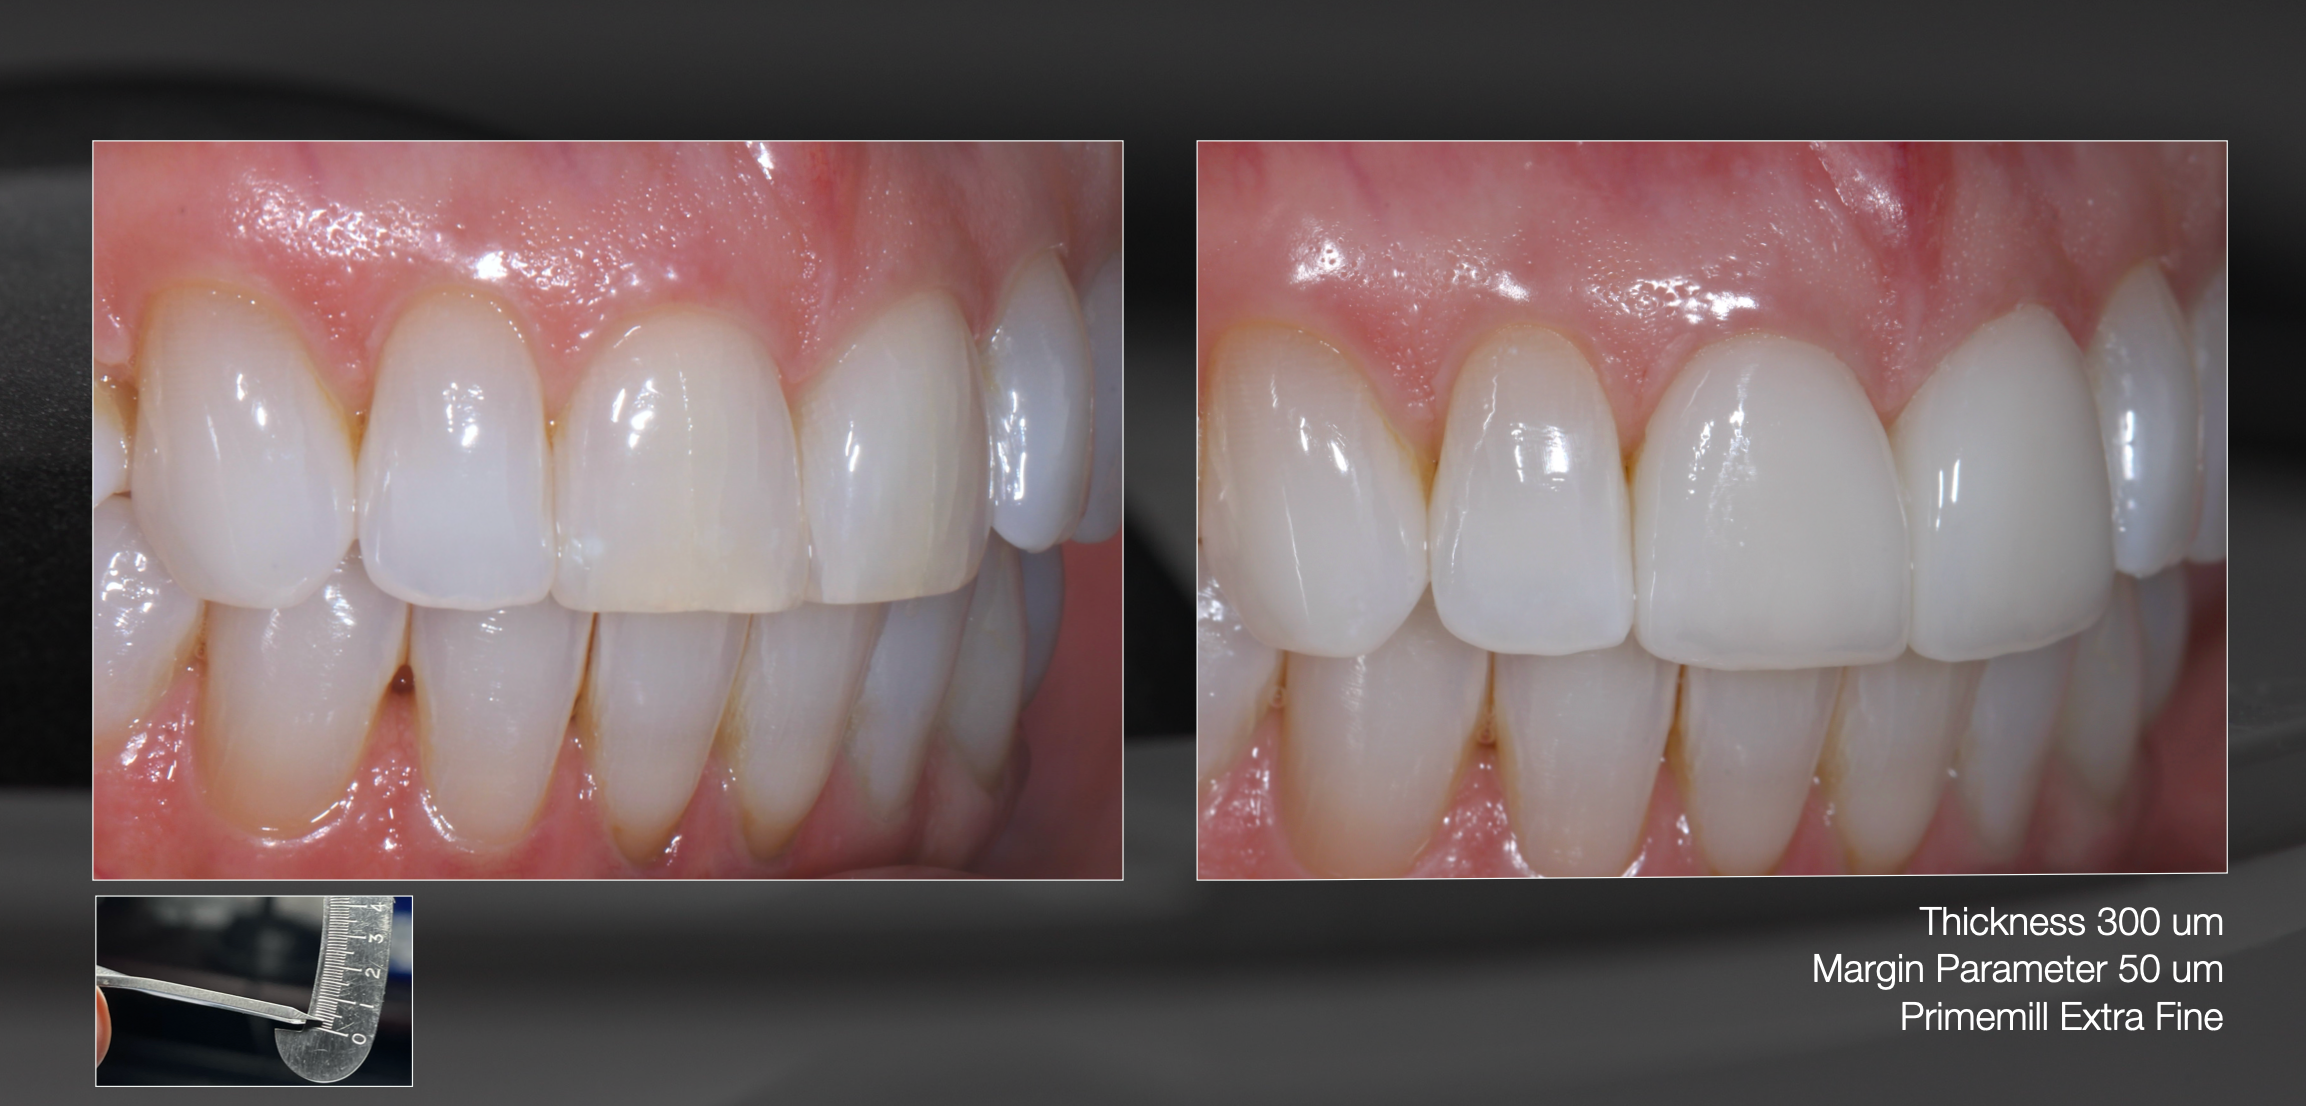
Ceramic thickness (targeting ~300 microns)
Labial contour
Incisal translucency and shape
The mock-up is transferred to the patient’s mouth using a siltek matrix, providing a real-world preview of the final result and guiding any minimal adjustments. This approach also ensures that final restorations have ideal and even thickness—crucial when using high-translucency ceramics like e.max HT.
No Cord? No Problem. Soft Tissue Management Done Right
Dr. Klim avoids packing cord unless absolutely necessary, citing its potential to cause soft tissue remodeling. Instead, he favors 3M's Retraction Capsule, which delivers clean margins and effective tissue blanching in 4–5 minutes—ideal for digital scanning and margin placement.
CAD/CAM Design & Material Strategy
The restorations were designed using CEREC software and milled with the PrimeMill and MCXL systems. Dr. Klim prefers to use a 50-micron margin thickness, achieving the “contact lens effect” once bonded. For this patient, two sets of veneers were milled for bracketing and shade selection: BL2 HT and BL3 HT, using Very Light Aesthetic try-in paste to evaluate blend and value before cementation.
Key tips from Dr. Klim’s workflow:
Always shade match before drying the teeth
Use a printed model to thin margins after crystallization
Perform all finishing before cementation to preserve soft tissue and ceramic luster
Crystallization, Finishing & Bonding
Final touches included texturing and incisal characterization using MiYO 850 glaze and stains (like Lumen and Smoke Storm) to mimic natural translucency. The restorations were crystallized in a single firing to maintain maximum brilliance and minimize unwanted translucency.
Bonding was completed using Ivoclar's Variolink Esthetic Light, with Full Etch technique. Moisture control was managed with a small Isolite system, and margins were carefully polished to a seamless finish.
The Outcome? Minimally Invasive. Maximally Beautiful.
The patient was thrilled—and with good reason. This case demonstrated that with careful planning, digital tools, and the right materials, clinicians can deliver long-lasting esthetic transformations while preserving what matters most: natural tooth structure.
Dr. Klim’s approach reminds us that conservative dentistry isn’t about doing less—it’s about doing what’s right.
Want to learn more?
Join Dr. James Klim for a 4-hour deep dive into veneers using CEREC™Virtual CEREC™ Veneers
🗓 Date: Friday, August 8, 2025
🕘 Time: 9:00 AM – 1:00 PM PDT
📍 Location: Online (Virtual Course)
Click here to register